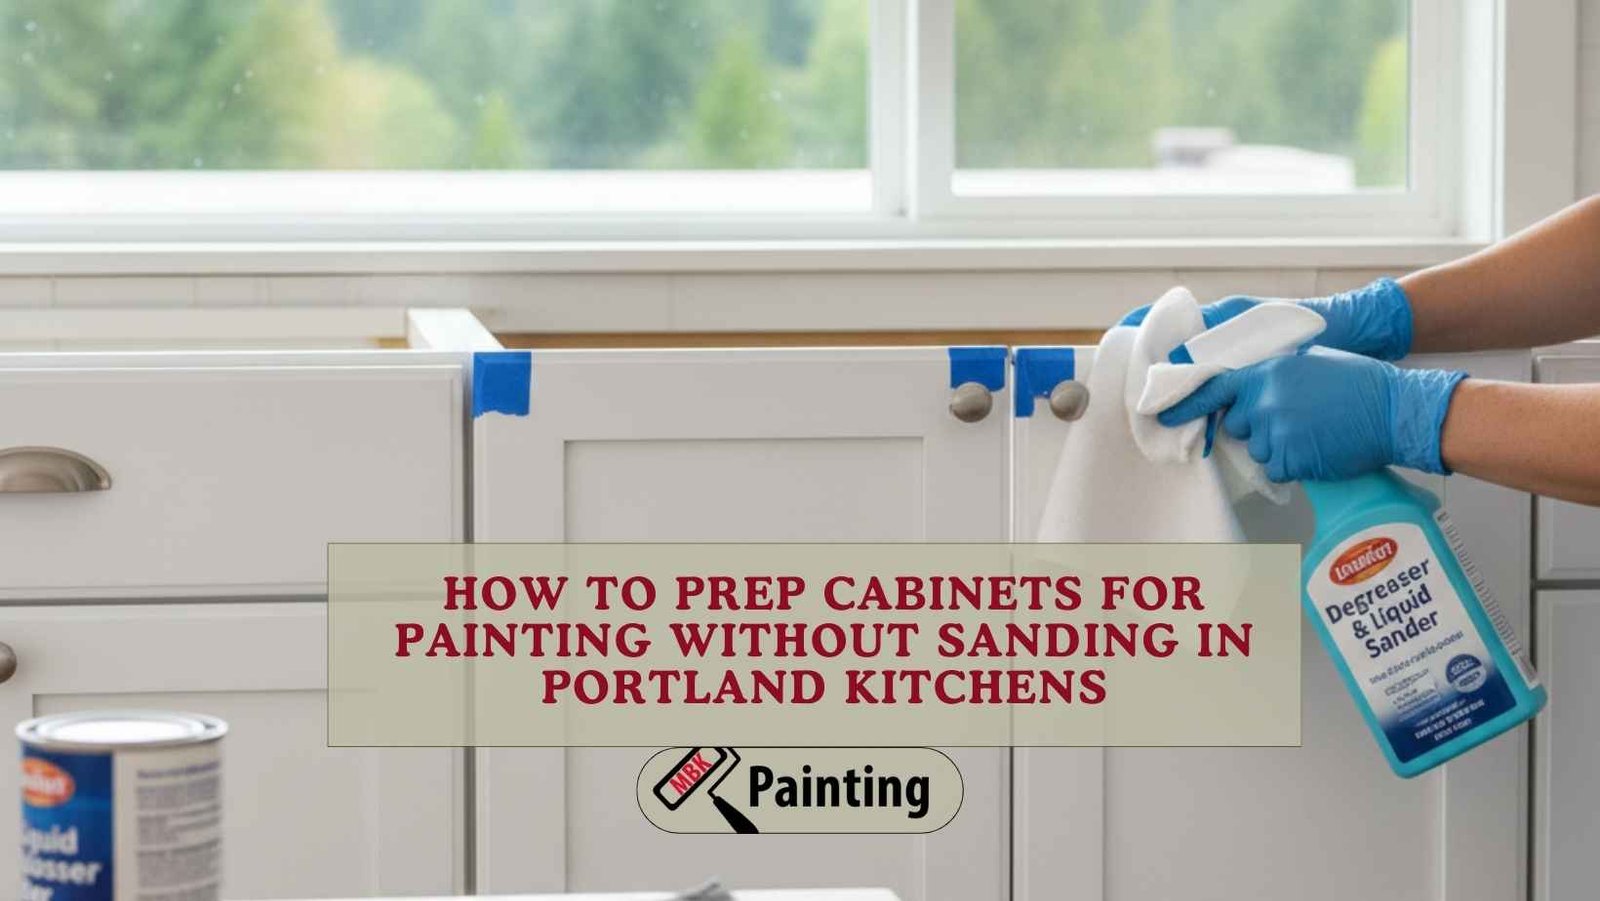
Updating kitchen cabinets is one of the fastest ways to refresh a Portland home, especially when you want a clean, modern look without the cost of a full remodel. But many homeowners hesitate because sanding is messy, time-consuming, and dusty. The good news? You can prep cabinets for painting without sanding, as long as you follow a proper step-by-step process and use the right products.
Whether you’re upgrading a bungalow in Sellwood, modernizing a Pearl District condo, or brightening a family kitchen in Northeast Portland, this guide walks you through the safest and most effective way to get a smooth, durable finish—no sandpaper required.
Why Skip the Sanding?
Sanding is traditionally used to roughen cabinet surfaces so that paint adheres well. However, there are smart alternatives that save time and avoid the debris cleanup.
Homeowners often skip sanding because:
- It creates dust that spreads into nearby rooms.
- It requires protective gear and lots of prep work.
- It’s difficult for detailed cabinet doors and trim.
- It’s not ideal for small Portland kitchens where space is tight.
Fortunately, today’s cleaners, deglossers, and bonding primers are designed to grip glossy finishes—making sanding optional.
Step 1: Remove Doors, Drawers & Hardware
Even without sanding, you still need full access to every surface.
- Label each cabinet door so reinstallation is easy.
- Remove hinges, knobs, and handles.
- Set hardware aside in labeled zip bags.
This keeps your workspace organized and helps ensure a smooth, professional result.
Step 2: Deep-Clean Cabinets with a Degreaser
Kitchen cabinets accumulate grease, oils, and residue, especially around the stove. Proper cleaning is the most important step when skipping sanding.
Use a heavy-duty cleaner or TSP (Trisodium Phosphate) substitute:
- Scrub all surfaces thoroughly.
- Pay extra attention to edges, grooves, and corners.
- Rinse with warm water and let dry fully.
Any residue left behind can cause paint to peel later.
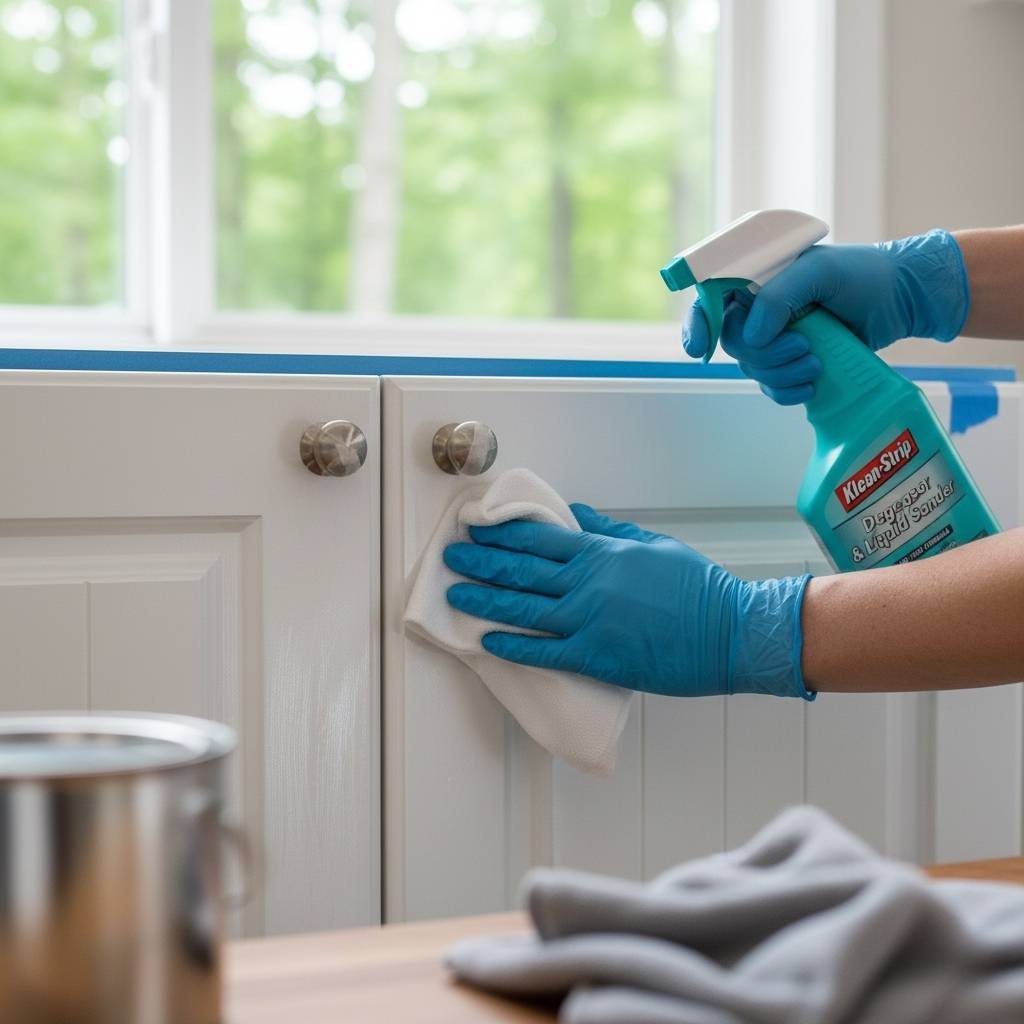
Step 3: Use a Liquid Deglosser (the Sanding Alternative)
A liquid deglosser, also called “liquid sandpaper,” softens and dulls the existing finish so that primers and paints stick properly. This step replaces the roughening effect of sanding.
How to apply:
- Use a lint-free cloth.
- Wipe the solution across the entire surface.
- Allow it to dry as directed (usually 10–15 minutes).
- Do not touch surfaces after deglossing, as they become sticky.
This step is essential if your cabinets have a glossy, lacquered, or factory finish.
Step 4: Apply a High-Quality Bonding Primer
A bonding primer is the key to avoiding sanding. It forms a strong adhesive layer between the old finish and your top coat.
Look for primers labeled:
- Bonding
- Adhesion
- For glossy surfaces
- For cabinets or trim
Two thin coats work best, with a drying time between coats. This ensures your paint won’t chip, peel, or scratch easily, especially in busy Portland kitchens.
Step 5: Choose a Durable Cabinet Paint
Cabinets endure constant opening, closing, cleaning, and moisture, so your paint choice matters.
Best paint options include:
- Acrylic enamel
- Urethane-reinforced enamel
- Cabinet-grade semi-gloss or satin finishes
Semi-gloss is best for kitchens because it’s moisture-resistant and easy to clean.
Popular Portland-friendly color trends include:
- Warm whites
- Soft greige
- Deep navy
- Forest green
- Charcoal black
Step 6: Apply Paint in Thin, Even Coats
Even without sanding, you can achieve a factory-smooth finish with proper painting technique.
Tips:
- Use a fine-bristle synthetic brush for corners and grooves.
- Use a foam roller for flat surfaces to avoid brush strokes.
- Apply 2–3 thin coats, not one thick coat.
- Let each layer dry completely before adding the next.
Rushing this step leads to drips, uneven color, and peeling.
Step 7: Allow Proper Curing Time
Paint dries within hours, but curing takes days. Don’t reinstall or heavily use cabinets right away.
General timeline:
- Dry to the touch: 1–2 hours
- Ready for light use: 24 hours
- Fully cured: 5–7 days
In humid Portland weather, allow extra time.
Once cured, reattach your hardware and enjoy your refreshed kitchen.
Extra Pro Tips for a Flawless Non-Sanding Finish
- Work in a dust-free environment to keep debris off wet paint.
- Replace old hardware for an instant style boost.
- Use drop cloths to protect flooring and countertops.
- Test your paint on the back of a cabinet door first.
These small steps make a big difference in overall appearance.
When to Call a Professional
If your Portland cabinets are old, heavily damaged, or previously painted, professional painters may deliver better long-term results.
You should hire a pro if:
- Your cabinets have deep dents or peeling paint
- You prefer a factory-grade spray finish
- You lack space to safely lay out all the doors
- You want ultra-durable enamel applications
Professionals also use commercial sprayers that produce an ultra-smooth finish not easily achievable by hand.
Call to Action
Prepping cabinets for painting without sanding is absolutely possible, and incredibly effective, when you use the right products and techniques. From deep cleaning to deglossing to applying a strong bonding primer, these steps help you achieve a long-lasting, professional finish that brightens your Portland kitchen without the mess or hassle of traditional sanding. Call to Action